Architectural CGI Brief Template
An architectural CGI brief template records the design information, image purpose, viewpoints, review stages and delivery requirements for a rendering commission.
Architectural Visualisation
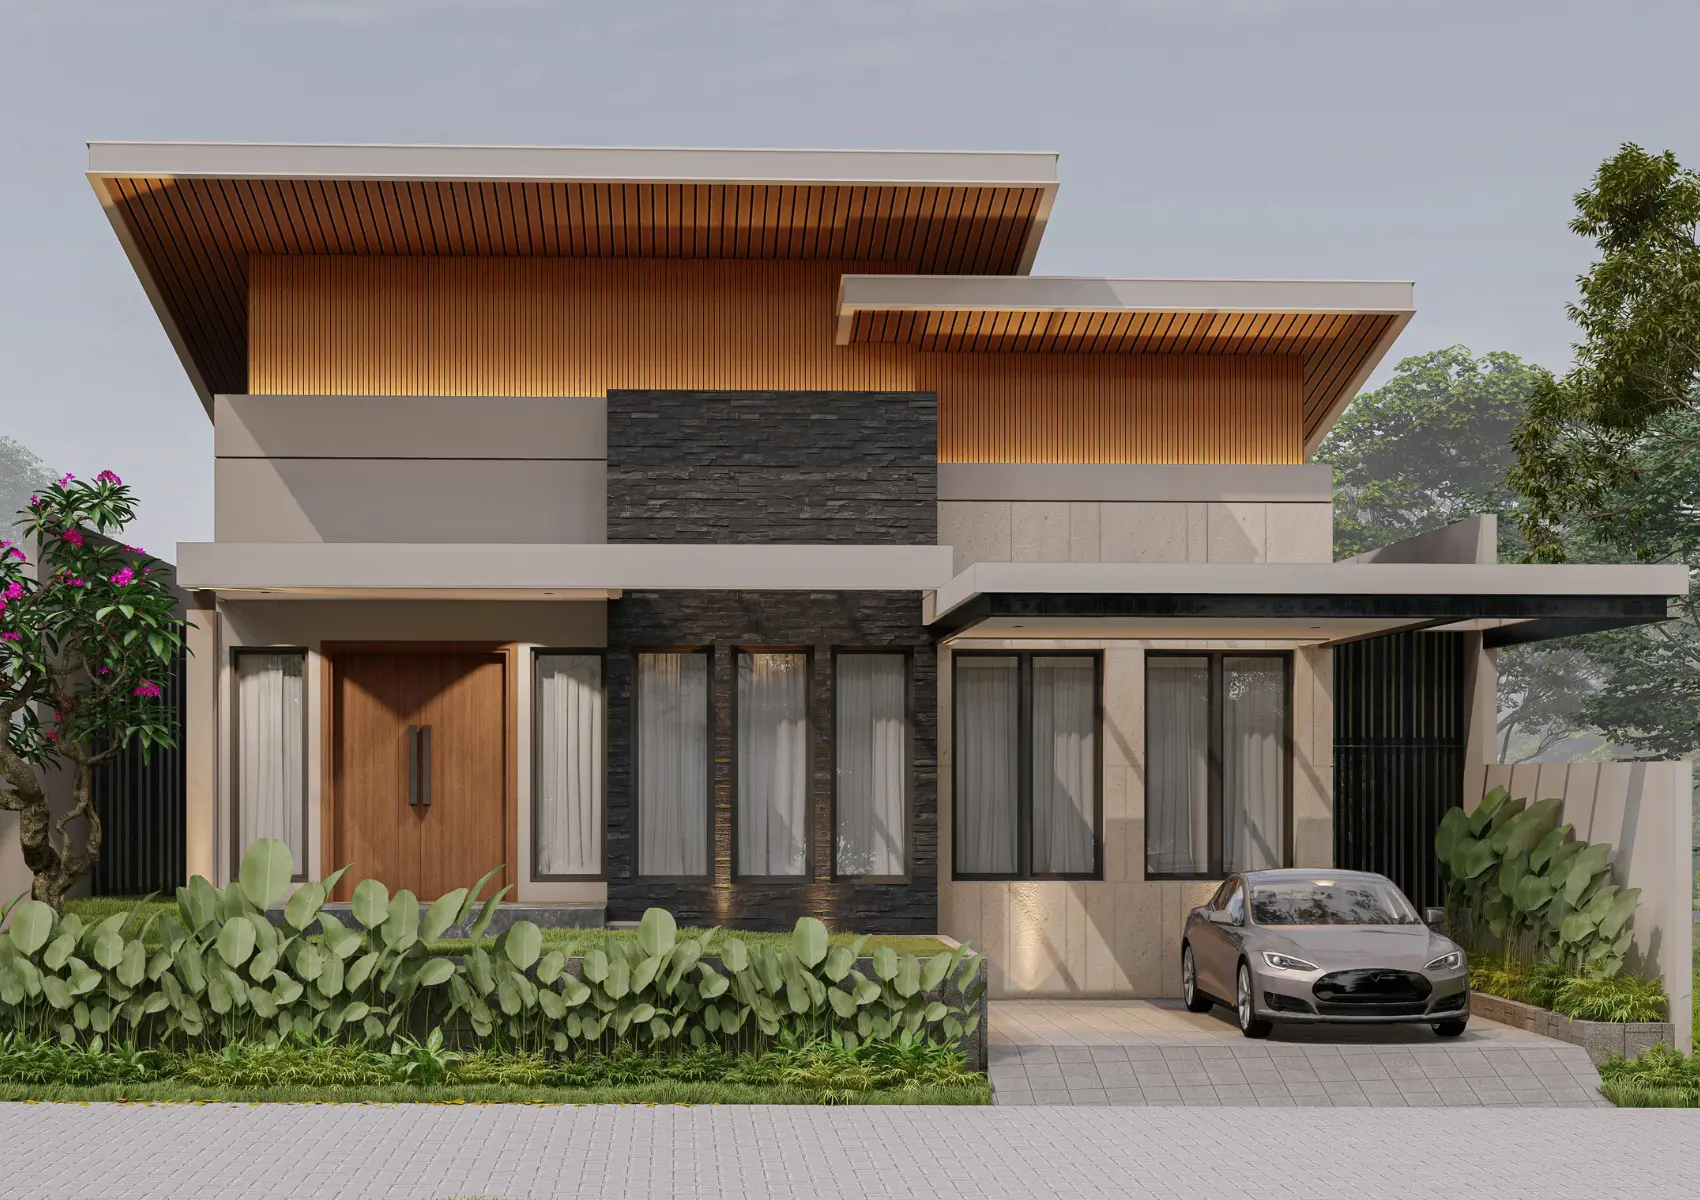
What belongs at the start of an architectural CGI brief?
The start of the brief identifies the project, audience and decision the images support. Record the project name, site address, design stage and commissioning contact. Explain whether the work supports design review, a planning submission, investor communication or property marketing. These purposes determine the amount of context, required evidence and delivery formats. A marketing image and an assessed planning representation are different commissions even when they show the same building. Add a dated drawing register and name the person who approves the scope. State the actual information available today rather than a future package that has not been issued. This gives every studio the same basis for its quotation and prevents missing design information from becoming an invisible assumption.
Which drawings and models form the source package?
The source package contains coordinated plans, elevations, sections and any relevant 3D model. Supply files from the same issued revision and include a schedule of superseded documents. Record the model format, units, orientation and origin, together with site levels and floor-to-floor heights. Identify missing roofs, external works, adjoining buildings or interior details. A supplied model still needs checking against the drawings; possession of a model does not mean that scene preparation is complete. PDF drawings provide a readable reference, while editable files support geometry preparation where available. Record which document controls a discrepancy between model and drawing. Keep filenames clear, separate approved information from working options and avoid overwriting files after a reviewer has approved them.
How does the brief define each viewpoint?
The viewpoint schedule defines what every image needs to show. Give each proposed image an identifier and a short purpose, such as frontage and arrival, living-room layout or shared-amenity relationship. Mark a suggested camera position and direction on a plan, then identify the architecture that remains visible. Specify eye-level, elevated or detail views without treating a reference photograph as an exact camera instruction. Ask for viewpoint approval before detailed materials and planting work. A striking perspective still fails its purpose when it conceals the entrance, distorts room proportions or excludes the neighbouring context under discussion. For assessed visual evidence, the viewpoint and camera specification follow the agreed technical methodology rather than an aesthetic preference alone.
Which material references need to be supplied?
Material references identify the intended finish, scale and arrangement of each visible surface. List façade products, roof finishes, glazing, paving, joinery and internal finishes by drawing reference. Include manufacturer references or approved samples where these exist. Describe timber grain direction, cladding joint spacing, tile size and metal finish rather than relying on a broad instruction such as light stone. For interiors, identify fixtures, furniture and fittings that belong to the approved design. Separate illustrative furnishings from items included in the specification. Record unresolved options openly and decide which option appears in the first draft. A mood-board image establishes a visual reference; it does not replace a coordinated finish schedule or prove the properties of a construction product.
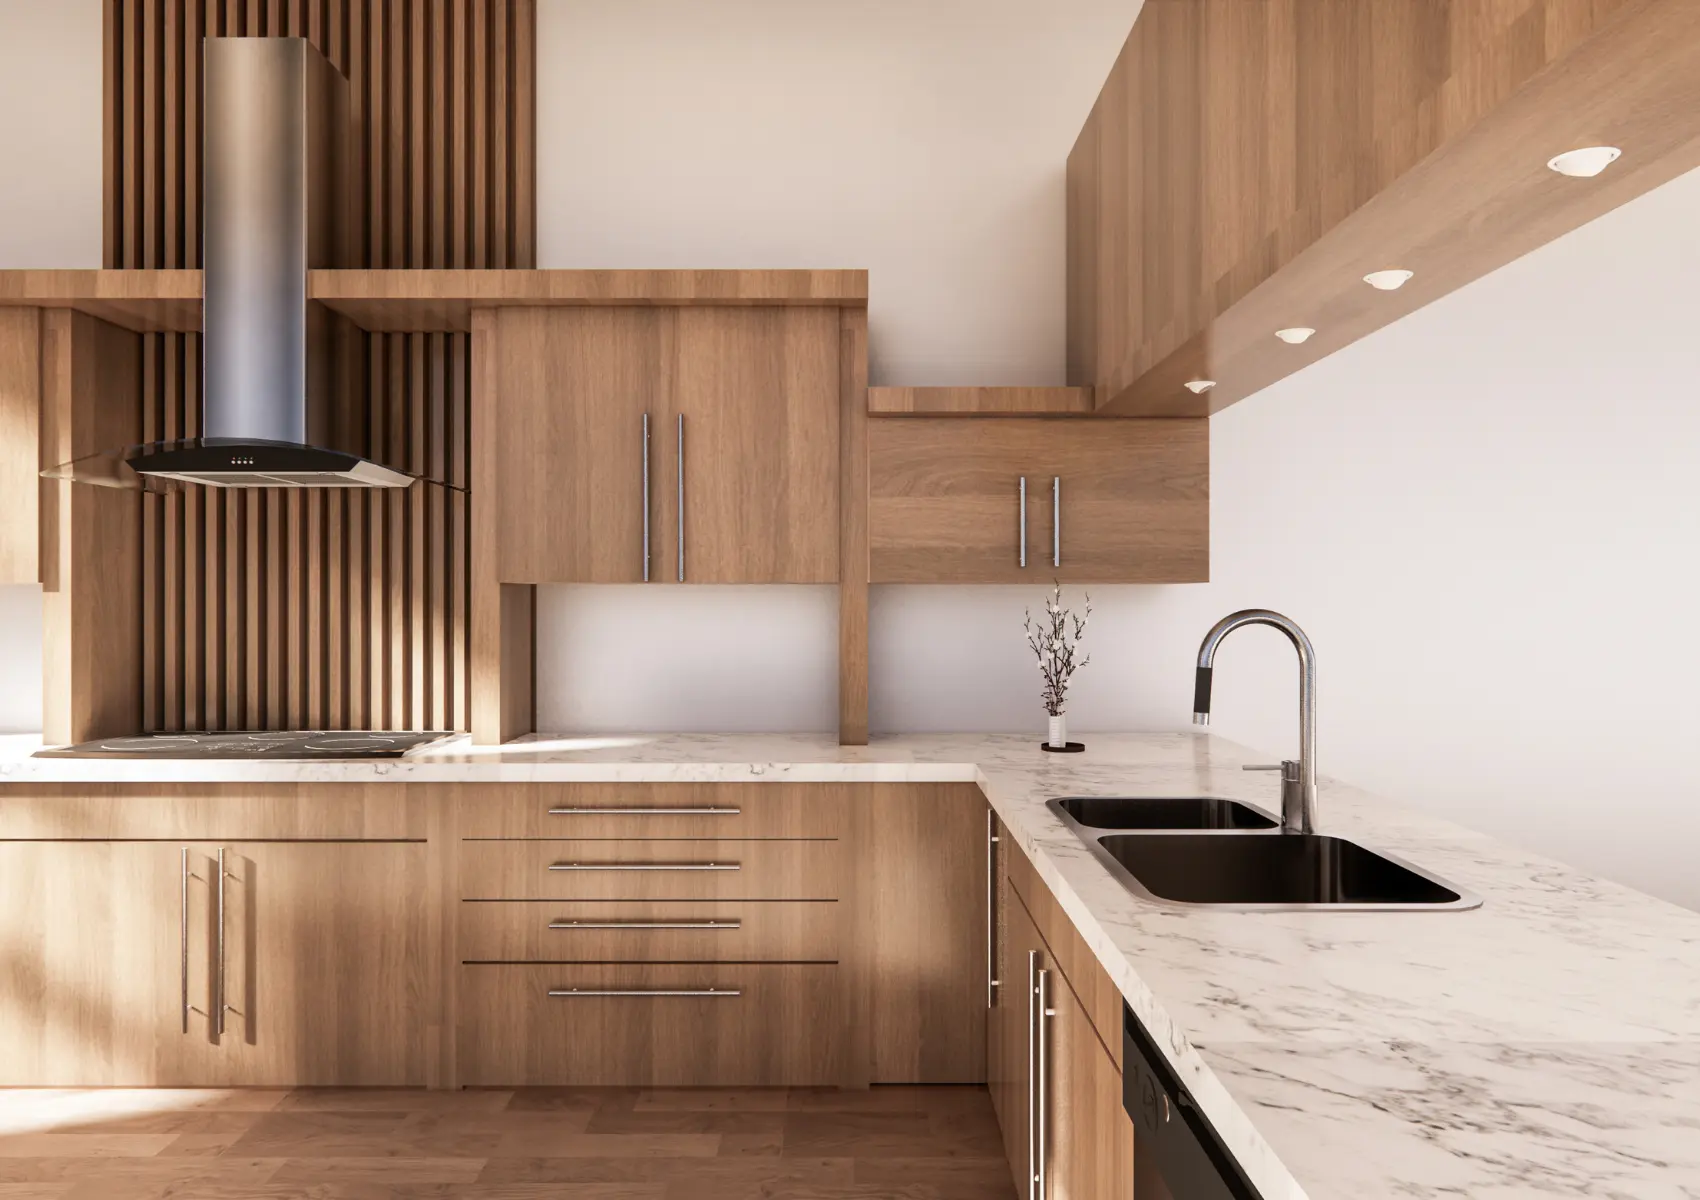
How much surrounding context does the image need?
The context requirement follows the architectural relationship that the image explains. A street view needs the adjoining frontage, ground levels, access and planting visible from its camera. A wider view needs a broader surrounding model or suitable site photography. Supply site boundaries, landscape proposals and information about retained structures. Separate existing vegetation from proposed planting and specify the intended maturity of new landscaping. Do not use generic trees to obscure a relationship relevant to the commission. Identify whether the image uses a fully modelled environment or a photographic background. Photography introduces its own access, viewpoint and licensing requirements. Survey-backed representations add documented camera matching and presentation specifications that an ordinary CGI brief does not establish.
What does the interior schedule add?
The interior schedule adds room geometry, layout and finish decisions that external drawings do not contain. Record ceiling heights, door positions, window reveals, joinery, skirting and the position of fixed services visible in the view. Include kitchen and bathroom elevations where cabinetry, fittings and worktop details matter. Mark furniture sizes and circulation space on the plan. Name the intended lighting arrangement and identify whether daylight, artificial light or a combined scene explains the room best. Agree which adjacent spaces appear through open doors or glazing. An interior image often contains more than the named room, so those visible edges belong in the scope. Furnishing remains illustrative where it is not part of the supplied specification.
How are review stages and revisions recorded?
The review plan records the decisions approved at each stage. Start with geometry and camera composition, then move to materials, landscape or furnishing, lighting and final finishing. Name one person who consolidates comments from the wider design team. Set review dates alongside production dates, including the deadline for supplied information. Use numbered comments and marked-up images with the affected view identifier. Distinguish corrections against the agreed brief from new design instructions issued after approval. The quotation defines revision allowances and charges for extra work; the template does not create a universal allowance. Record approval explicitly so an already agreed camera or finish is not reopened by a later reviewer without recognising the resulting scope change.
Which output and usage details belong in the brief?
The delivery specification records image dimensions, file formats, crops and intended publication channels. List website images, brochure spreads, portal listings, presentation boards and any social crops separately. Confirm whether the studio supplies a master image and derivatives or only the stated final files. Record print size where high-resolution output is required. Image usage rights and ownership of the working scene are different questions, so identify both in the written agreement. Specify any requirement for source models, layered files or future alterations before appointment. For animation, add duration, aspect ratio, delivery format and review stages for the camera route. For interactive work, add hosting, device support and maintenance responsibilities rather than treating the output as another still image.
What checklist is ready to copy into a project brief?
The ready-to-use checklist is: project and site; purpose and audience; commissioning contact; design stage; drawing register; model format and status; image identifiers and proposed cameras; visible site context; material and fixture references; indicative elements; review contact and stages; information deadlines; first-draft and final-delivery dates; image dimensions and crops; file formats; usage rights; revision scope; quotation assumptions. Complete each field with a specific value or mark it unresolved. Add an owner and decision date to every unresolved field. Send the same completed version to every studio being compared. Retain the issued brief alongside the accepted quotation so the design team has an agreed reference when later comments or revised drawings change the commission.
How does the team compare responses to the same brief?
Comparable responses explain the same scenes, outputs and assumptions. Check whether each quote includes geometry preparation, site context, photography, survey work, review rounds and final derivatives. Confirm VAT treatment, payment stages and the date from which the delivery programme starts. Identify exclusions before comparing the headline fee. A studio that prices only an isolated building model has a different scope from one that includes street context and planting. Ask how incomplete source information affects the fee and programme. Check who carries responsibility for design accuracy and technical assessment requirements. Select the appointment against the actual project need, not the number of attractive examples alone. The accepted scope turns this checklist into a controlled commissioning document.
Definition: what is architectural visualisation?
Commission this work: exterior cgi rendering. See architectural visualisation pricing.